Start Using PagerDuty Today
Try PagerDuty free for 14 days — no credit card required.
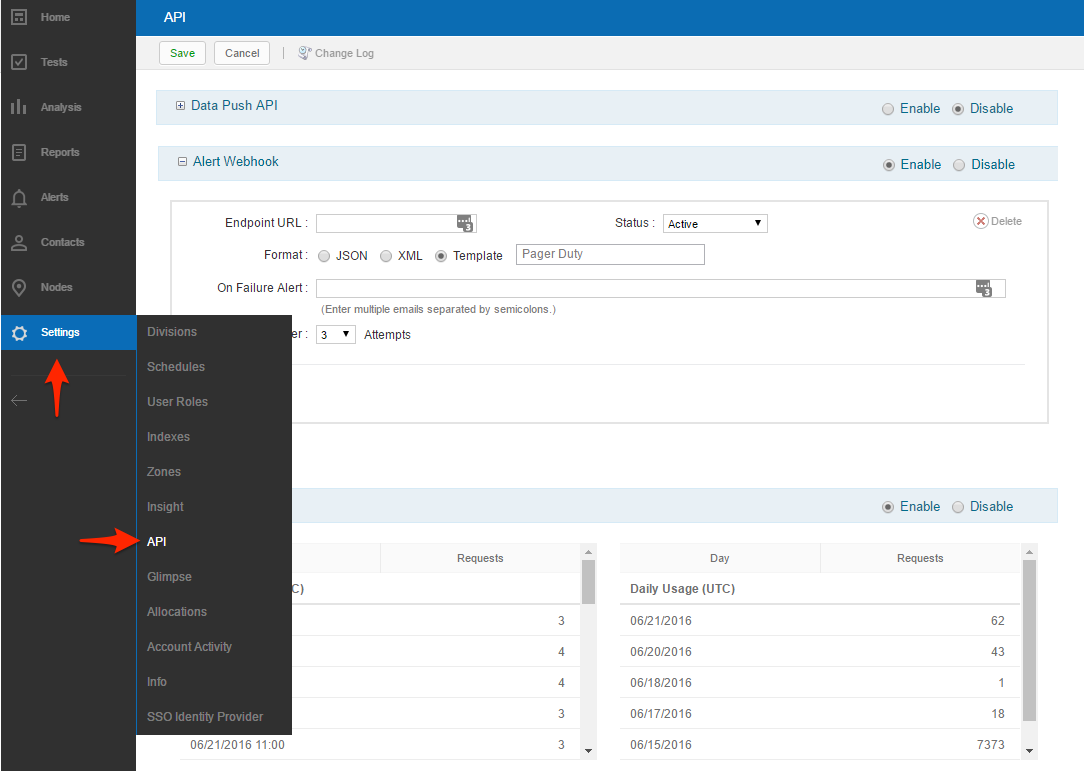
Catchpoint allows you to manage, monitor, and test the performance of online applications. Follow the instructions below to configure Catchpoint with PagerDuty.
https://events.pagerduty.com/generic/2010-04-15/create_event.json
service_key, event_type, and description. Additional parameters that can be passed can be found in our Events API documentation.The JSON fields can be hardcoded as well as filled in dynamically with data provided from the system. This includes data like the test name, the alert severity, conditions that triggered the alert, location of the node for which a test run caused an alert to trigger, etc. An example use for the Alert Webhook Template is to provide the timestamp and severity level for an alert in JSON where macros are used with the following syntax: ${macroName}.
{
"service_key": "YOUR-INTEGRATION-KEY-HERE",
"event_type": "${switch("${NotificationLevelId}","0","trigger","1","trigger","3","resolve")}",
"description": "${switch("${NotificationLevelId}","0","WARNING","1","CRITICAL","3","OK")}: ${TestUrl}",
"incident_key": "${AlertInitialTriggerDateUtc}",
"client": "${TestName}",
"client_url": "${TestUrl}",
"details": {
"NodeName": "${NodeDetails("${NodeName}")}",
"NodeClientAddress": "${NodeDetails("${NodeClientAddress}")}",
"NodeMean": "${NodeDetails("${NodeMean}")}",
"Test Name": "${TestName}",
"Test URL": "${TestUrl}"
}
}
A list of all the supported alert macros can be found in the Catchpoint Knowledge Base.
Note: You must log in to your Catchpoint account to access their knowledge base.
Yes, Catchpoint can route different alerts to separate PagerDuty services by sending specific alerts to different endpoints.
Yes, Catchpoint can auto-resolve PagerDuty incidents by applying the switch statement within the event_type field to send a resolve when the notification level is 3 or Improved.
Try PagerDuty free for 14 days — no credit card required.