- PagerDuty /
- Integrations /
- Hubot Integration Guide
Hubot Integration Guide
PagerDuty can participate in any chatroom that Hubot supports thanks to Github and contributors. To demonstrate how to integrate PagerDuty and Hubot, this integration guide was completed using Slack.
This integration requires a PagerDuty API key, which can only be created by an Admin or the Account Owner.
What you will need
- Github account
- Heroku account
- Installed Heroku Toolbelt
- Chat-client of your choice (we used Slack for this integration guide)
- Updated version of Node (NPM)
Getting Started
- Visit the Hubot Pager Me repository and clone the PagerDuty Hubot files
git clone https://github.com/{your-github-username}/hubot-pager-me.git - Change directories into your hubot-pager-me directory
cd hubot-pager-me - Next, download the Hubot modules:
- Run the following commands:
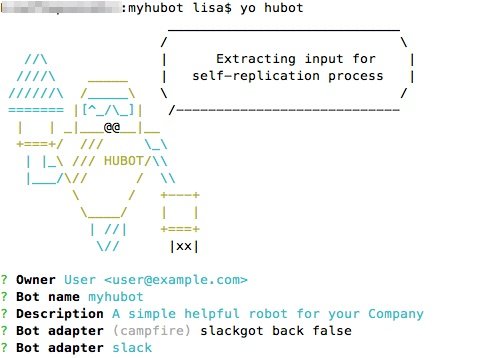
npm install -g yo generator-hubotmkdir myhubotcd myhubotyo hubot - After running 'yo hubot' you will be asked a series of questions about who is creating the bot, and which adapter you will be using. When asked which adapter you will be using, enter in the name of the adapter, here we are using Slack.
- Run the following commands:
- Next, we want to link Hubot and the PagerDuty Repository
- In your hubot repository, run:
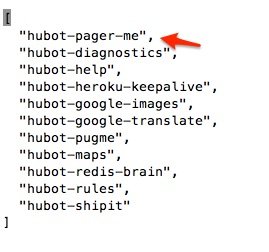
npm install hubot-pager-me --save - Add "hubot-pager-me" to external-scripts.json
- In your hubot-pager-me repository, run:
npm install - In your hubot-pager-me repository, run:
npm link - In your hubot directory, run:
npm link hubot-pager-me
- In your hubot repository, run:
In Slack
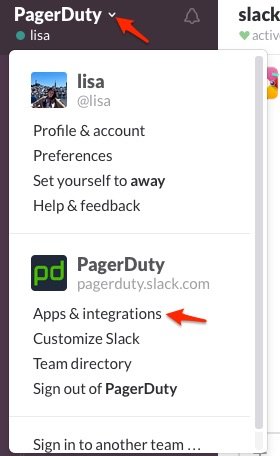
- Go to Slack, click on the "v" symbol and select Apps & Integrations
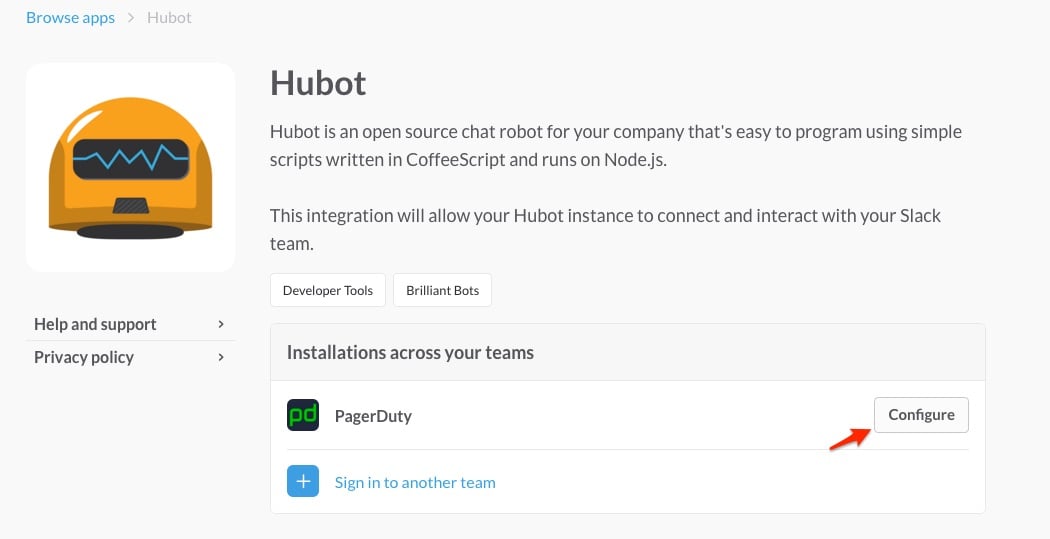
- Search the app directory for Hubot
- Click to Configure Hubot
- To create a new configuration, click Add Configuration
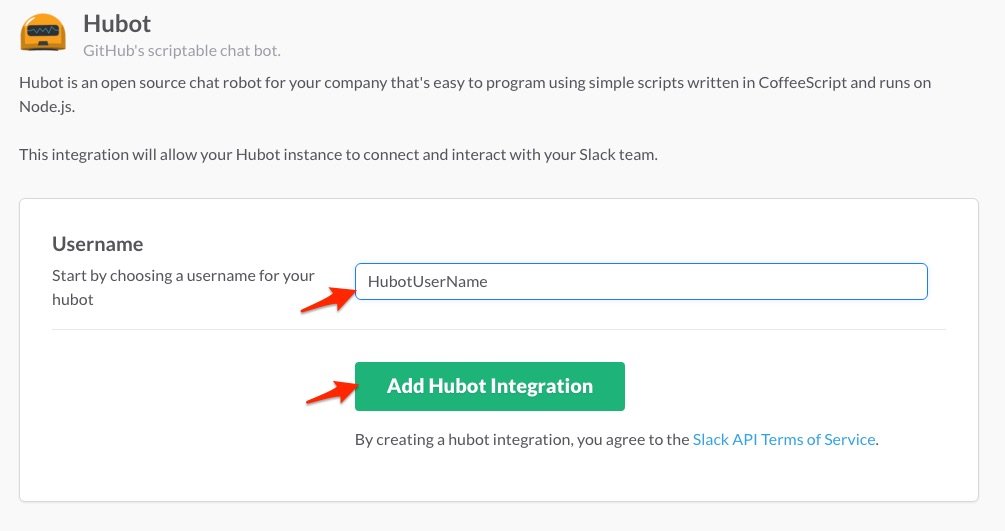
- Enter in a username for your hubot and click Add Hubot Integration
- On the next page, copy the Hubot Slack token to your clipboard; we will be using these as environment variables later.
- Click Save Integration
- In Slack, go to the channel where you want to use your hubot and invite it to join by entering in: @your-hubot’s-username

In PagerDuty
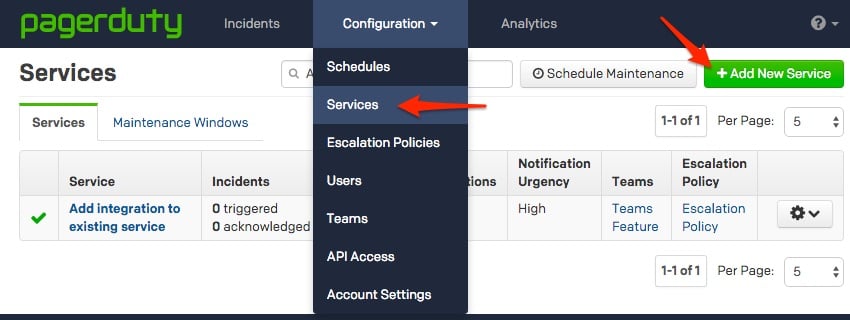
- From the Configuration menu, select Services.
- On your Services page:If you are creating a new service for your integration, click +Add New Service.If you are adding your integration to an existing service, click the name of the service you want to add the integration to. Then click the Integrations tab and click the +New Integration button.

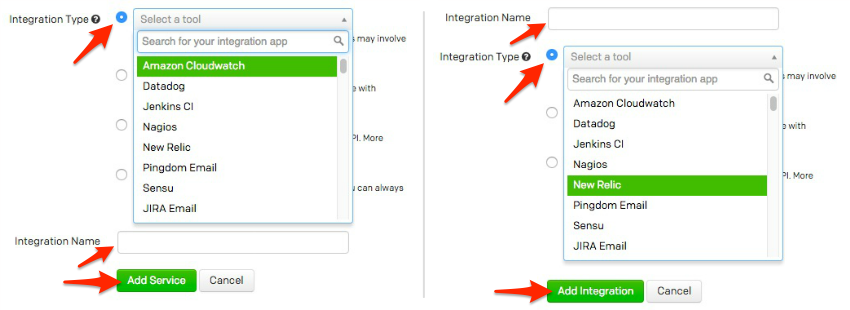
- Select your app from the Integration Type menu and enter an Integration Name.If you are creating a new service for your integration, in General Settings, enter a Name for your new service. Then, in Incident Settings, specify the Escalation Policy, Notification Urgency, and Incident Behavior for your new service.
- Click the Add Service or Add Integration button to save your new integration. You will be redirected to the Integrations page for your service.
- Copy the Integration Key for your new integration:

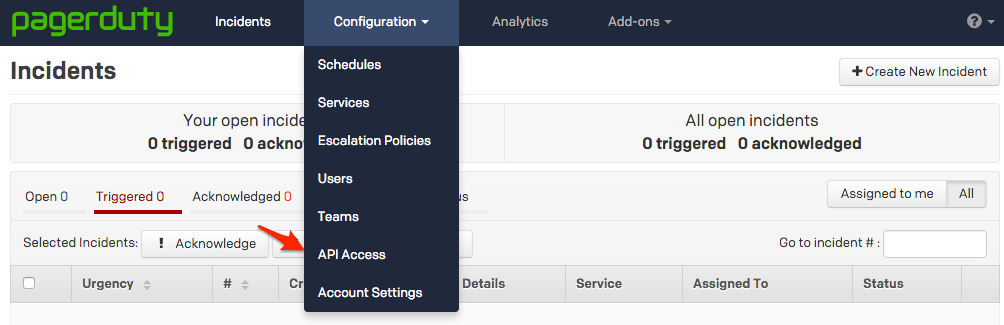
- From the Configuration menu, select API Access.
- On your API Access page, click the +Create New API Key button.

- In the dialog that pops up, you'll be prompted to enter a Description for your key. You will also have the option to create the key as Read-only; leaving this box unchecked will create a full access key.
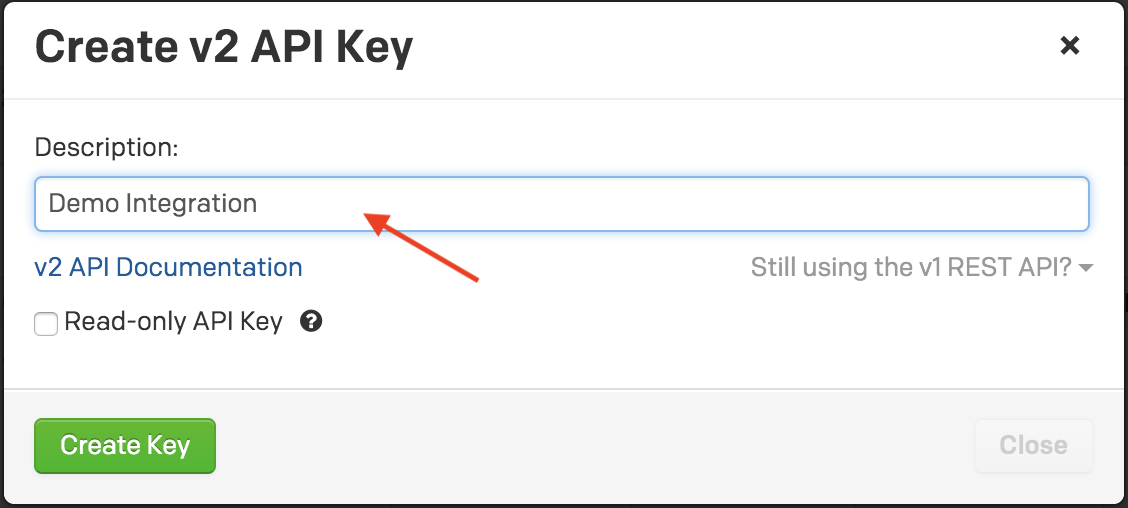
- Once you have filled in your options, click Create Key.
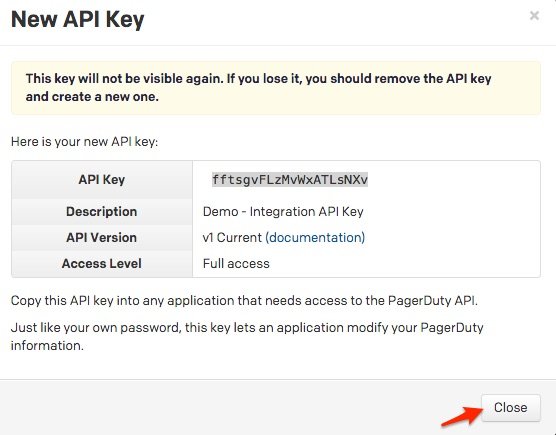
- Once you click Create Key, you will see a dialog displaying your key and confirming the options you filled in on the previous step. Make sure to copy this key into any application that needs it now, as you will not have access to the key after this step. If you lose a key that you created previously and need access to it again, you should remove the key and create a new one. Click Close once you have successfully copied your key.
- Find the PagerDuty Service that you would like to link to your Hubot, then copy and save the Integration Key

Provisioning Slack
- In your terminal, in your myhubot directory, run:
npm install -g hubot coffee-script yo generator-hubotnpm install hubot-slack --save - Edit the Procfile to ensure the adapter is slack, and include the name of your bot:
nano Procfile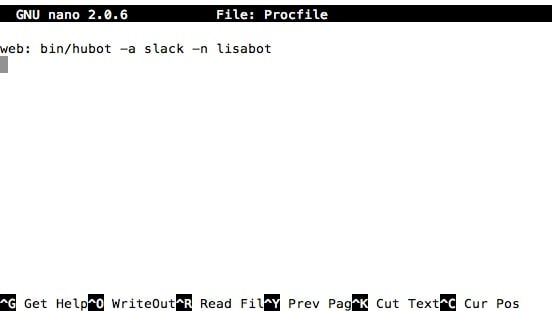
In Heroku
- To deploy your bot to Heroku, first login to Heroku via your terminal:
heroku login - In your myhubot directory, make sure you've created a git repository, and that your work is committed:
git initgit add .git commit -m "Initial commit" -
Then, create the Heroku application by running:
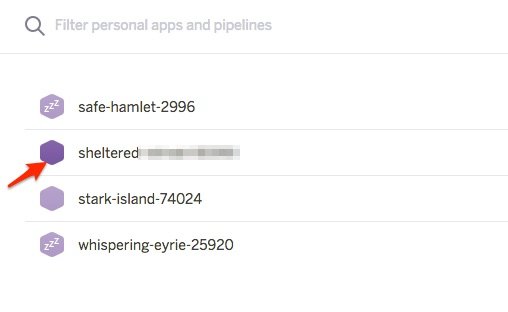
heroku create - Go to Heroku in the web UI, and click to the new Heroku app you just created
- Click in the search bar under Add-ons and search for Redis To Go
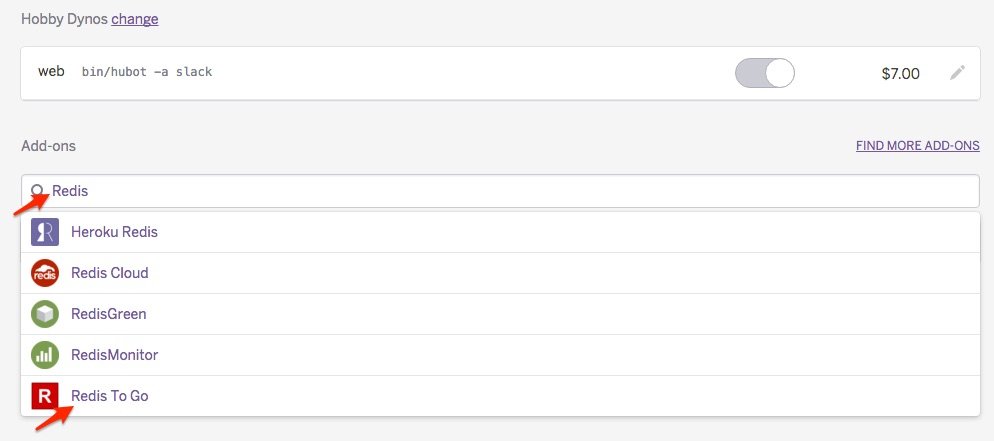
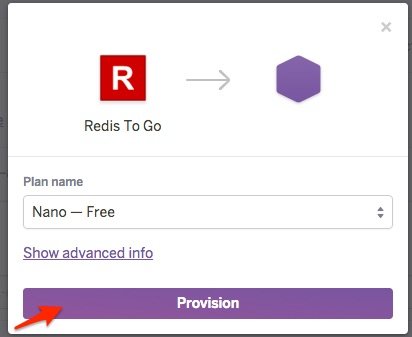
- Provision Redis To Go
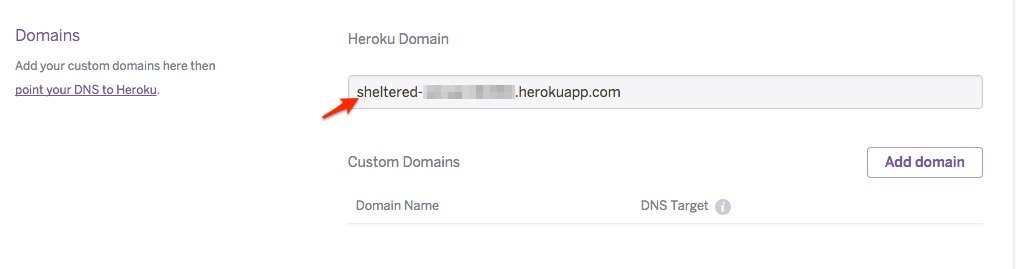
- Click to Settings to define the variables

- Copy and save your Heroku app domain under the Domains section, we will need it in just a moment
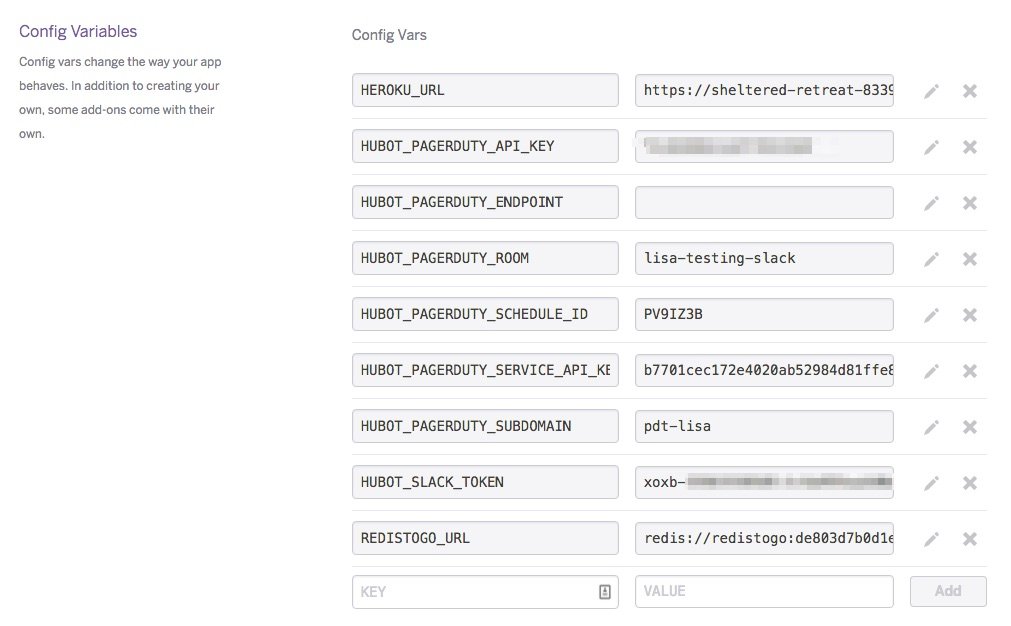
- Click Reveal Config Vars
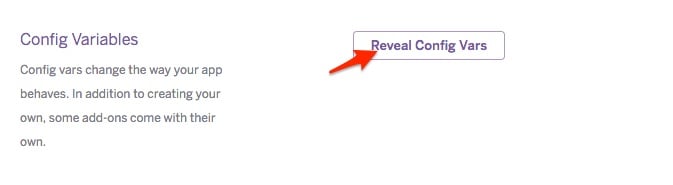
- Here you will define the variables for the following:
- HEROKU_URL = the URL to the Heroku app you created
- HUBOT_PAGERDUTY_API_KEY = the API access key we created earlier
- HUBOT_PAGERDUTY_ENDPOINT = leave this blank
- HUBOT_PAGERDUTY_ROOM = the name of the room in Slack you are using for Hubot
- HUBOT_PAGERDUTY_SCHEDULE_ID = the PagerDuty schedule
- HUBOT_PAGERDUTY_SERVICE_API_KEY = the integration key of the service you will want to trigger/acknowledge/resolve incidents from Slack
- HUBOT_PAGERDUTY_SUBDOMAIN = your PagerDuty subdomain
- HUBOT_SLACK_TOKEN = the Slack token we copied earlier
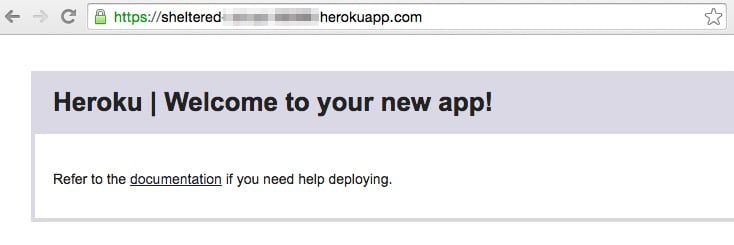
- Go to your Heroku URL, you should see a page like this:
In Slack
- Go to the room that you configured the integration with Hubot
- In the channel enter:
@yourHubotsName: pager me as {your-pagerduty-login-email-address}
- To see the list of command you can run, you can either visit the hubot-pager-me repository, or in Slack enter:
@yourHubotsName: help - Using Hubot, you can trigger, acknowledge and resolve incidents in Slack. To trigger an incident enter:
@yourHubotsName: trigger <user's name> <message for the incident>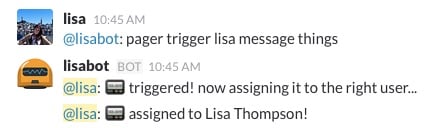
- To acknowledge incidents in Slack, enter in:
@yourHubotsName: pager acknowledge <incident number>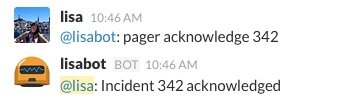
- To resolve incidents in Slack, enter in:
@yourHubotsName: pager resolve <incident number>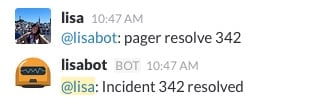
FAQ
Is there a way to test the integration locally?
Yes you can! While inside your hubot directory, define your variables by entering in the following commands:
- export HUBOT_PAGERDUTY_API_KEY = the API access key we created earlier
- export HUBOT_PAGERDUTY_ENDPOINT = leave this blank
- export HUBOT_PAGERDUTY_ROOM = the name of the room in Slack you are using for Hubot
- export HUBOT_PAGERDUTY_SCHEDULE_ID = the PagerDuty schedule
- export HUBOT_PAGERDUTY_SERVICE_API_KEY = the integration key of the service you will want to trigger/acknowledge/resolve incidents from Slack
- export HUBOT_PAGERDUTY_SUBDOMAIN = your PagerDuty subdomain
- export HUBOT_SLACK_TOKEN = the Slack token we copied earlier
Once you have added all of the necessary environment variables, type ‘bin/hubot --adapter slack’. Your Pagerduty Hubot should be fully functional. For a list of commands, visit: https://github.com/hubot-scripts/hubot-pager-me
Where can I find a list of the Adapters you can use with Hubot?
Here is the link to find all the available adapters for the Hubot integration: https://github.com/github/hubot/blob/master/docs/adapters.md.
Ready to get started?
Try any product on the Operations Cloud for free.
No credit card required.