Pivotal’s Cloud-Native platform drives software innovation for many of the world’s most admired brands. With millions of developers in communities around the world, Pivotal technology touches billions of users every day. After shaping the software development culture of Silicon Valley’s most valuable companies for over a decade, today Pivotal leads a global technology movement transforming how the world builds software.
This integration enables provisioning for PagerDuty teams, users, services, and escalation policies.
In PagerDuty
- Navigate to Integrations → API Access Keys.
- On the API Access page, click +Create New API Key.
- In the dialog that pops up, you’ll be prompted to enter a Description for your key. Leave the option Read-only unchecked to create a full access key.
- Once you have filled in your options, click Create Key.
- Once you click Create Key, you will see a dialog displaying your key and confirming the options you filled in on the previous step. Make sure to copy this key into any application that needs it now, as you will not have access to the key after this step. If you lose a key that you created previously and need access to it again, you should remove the key and create a new one. Click Close once you have successfully copied your key.
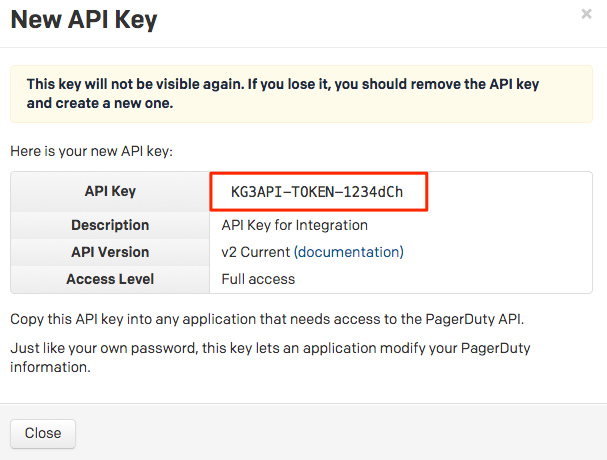
- Once created, you will see your key appear in the list of keys on the API Access page, with versioning noted.
In Pivotal Cloud Foundry (PCF)
- Download the product file from Pivotal Network.
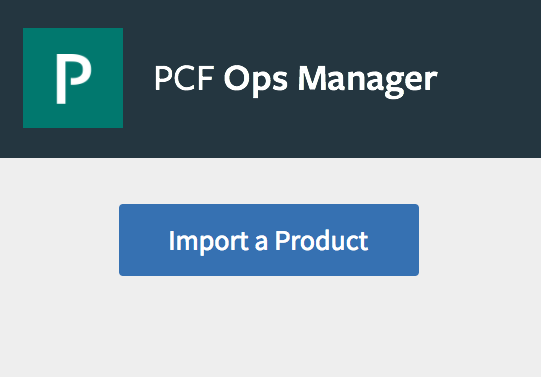
- Click Import a Product to upload the product file on the PCF Ops Manager Installation Dashboard.
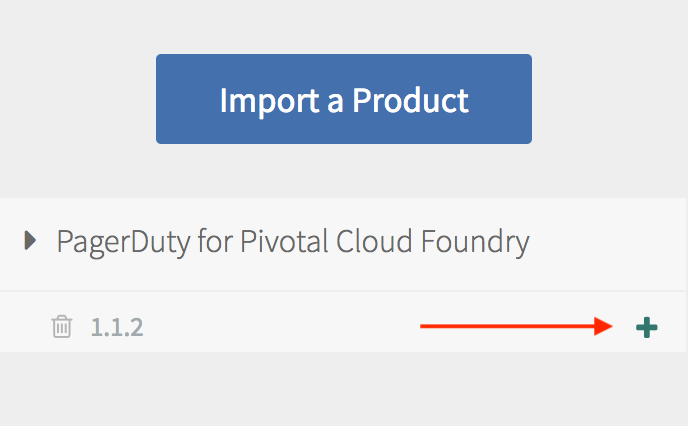
- Click on + icon next to the uploaded PagerDuty tile to add the tile to your staging area.
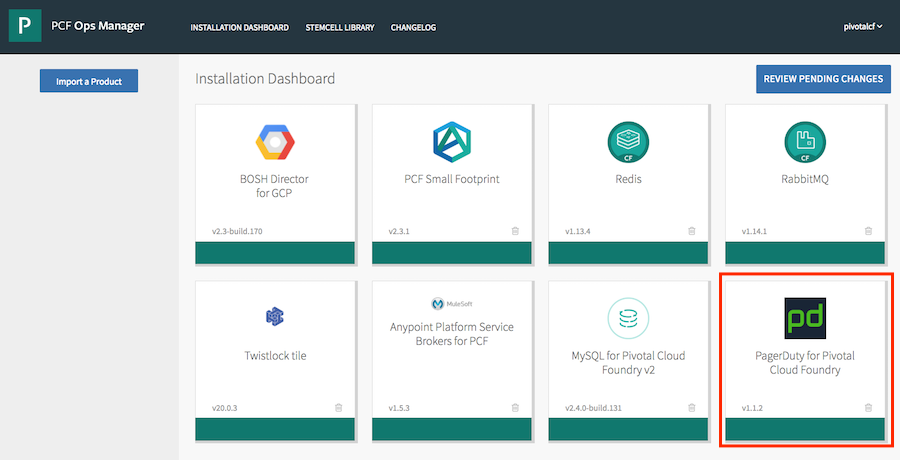
- Click on the PagerDuty tile to enter the configuration screen.
- From the Settings tab of your PagerDuty tile, click on Assign AZs and Networks.

- Select your Availability Zones and Network, where PagerDuty should run, and click Save.
- From the Settings tab, click PagerDuty Integration, choose the PagerDuty REST API endpoint depending on the region, namely, change the default option for the EU-based PagerDuty account, and click Save.
- From the Settings tab, click on Integration user, enter a PCF UAA admin’s credentials and click Save.
- To provision Teams and Users, click on Defaults and customisations from the Settings tab.
- Optionally enter Prefix for team name. When adding a prefix to this field, the integration will use this prefix along with the Organization and Space name in PCF to provision new Teams and their corresponding Escalation Policies into PagerDuty (e.g. prefixORG:SPACE).
- Check Automatically provision Space users to provision users within the Space when you bind the PagerDuty service to your app. If you want to manually provision users, leave this unchecked and follow the directions below.
- Check Provision single PagerDuty team for Organization to have one Team for your Organization. Leaving it unchecked will allow you to have unique Teams for each Space.
- Click Save.
- Click Installation Dashboard in the top left corner of the screen to leave the tile configuration and go back to your Ops Manager dashboard.
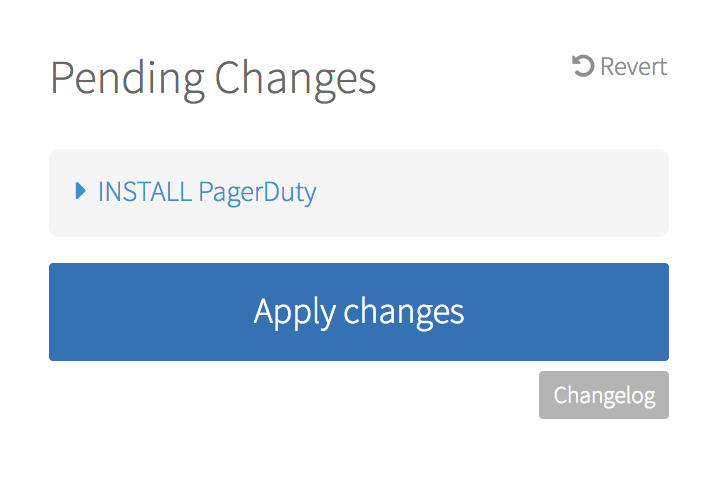
- Click on Review Pending Changes.

- Click Apply Changes to deploy the tile.
- Using the PCF Command Line Interface, log in to your deployment and target an ORG and SPACE. Login endpoint can be found in your PCF Apps Manager under Tools.
$ cf login
$ cf target -o <ORG> -s <SPACE>
- List the marketplace SERVICES and locate the PagerDuty SERVICE.
$ cf marketplace
- Create an instance of the PagerDuty SERVICE, being sure to replace <SERVICE_NAME> with your preferred service name.
$ cf create-service PagerDutyService PagerDutyPlan <SERVICE_NAME>
- Bind the PagerDuty SERVICE instance to an APP, being sure to replace <APP_NAME> with your APP’s name and <SERVICE_NAME> with your SERVICE’s name. The integration will automatically provision a PagerDuty Escalation Policy and Service once you bind the APP to your new SERVICE.
$ cf bind-service <APP_NAME> <SERVICE_NAME>
- Restage the APP for the SERVICE binding to take effect, being sure to replace <APP_NAME> with your APP’s name.
$ cf restage <APP_NAME>
- You have now successfully bound your APP and provisioned a new Service and Escalation Policy into PagerDuty! Provisioned Services and Escalation Policies follow the naming convention of SPACE:APP_NAME.
Additional User Provisioning
If you do not configure the integration in PCF Ops Manager to automatically provision Space users upon binding the service to your App or you need to add users after binding, user provisioning can also be accomplished in two ways:
- Using existing users which are already members of your PCF Space
- Manually entering users
If a user does not have an existing account in PagerDuty and they are added during the PCF user provisioning process, the user will consume a PagerDuty license. Users created through provisioning will derive their team roles from their PagerDuty base role. If a user already exists in PagerDuty, the user’s base and team roles will not change. Additionally if you change your PCF user permissions, you will need to manually update the roles in PagerDuty.
Provisioning Existing Users in Your Pivotal Space
You can provision users utilizing existing members of your PCF Space. The roles are currently mapped as follows:
| Pivotal Role |
PagerDuty Role |
| Space Manager |
Manager |
| Space Developer |
Responder |
| Space Auditor |
Observer |
Using the PCF Command Line Interface, update your service with the following JSON: {“provision_space_users”:true}, being sure to replace <SERVICE_NAME> with your existing service:
$ cf update-service <SERVICE_NAME> -c '{"provision_space_users":true}'
Manually Provisioning Users
You can also manually enter users within a JSON file to provision multiple users. The required fields are: email, name, and PagerDuty role:
{
	"users": [
		{
		"email": "john@test.com" ,
		"name": "John Doe",
		"role": "user"
		},
		{
		"email": jane@test.com",
		"name": "Jane Doe",
		"role": "team_responder"
		}
	]
}
Using the PCF Command Line Interface, update your service with the path to your JSON file, being sure to replace <SERVICE_NAME> with your existing service:
$ cf update-service <SERVICE_NAME> -c /tmp/users.json
FAQ
Does this integration trigger incidents in PagerDuty?
No, this integration only provisions teams, users, services, and escalation policies to PagerDuty and does not currently manage incidents.
Where can I find documentation on other Pivotal products that integrate with PagerDuty?
The PagerDuty service provides links to documentation for a number of popular PCF products within the VCAP_SERVICES environment variables of any application bound to the PagerDuty service.
If I add a user to my PCF space after binding the PagerDuty service, will the user get provisioned into PagerDuty automatically?
No, however, you can manually initiate the provisioning process again by running the update-service command again:
$ cf update-service <SERVICE_NAME> -c '{"provision_space_users":true}'